Tuesday, March 15, 2016

5 things you may (or may not) know about Ricola!

Sponsored Post

I’m quite sure when you guys read the title of this post, you would immediately think of sweets or lozenges when you read the word – 'Ricola'. After all, it's a well known household brand that we grew up with and for the “older” generation like me, some of us will remember having these little boxes of Ricola sweets in our school bags (which I would secretly pop into my mouth during class, lol) Till today, I LOVE the pearl series which is a chewy version of the original lozenges! I remember I will stick the sweet onto the roof of my mouth using the “suction method” (because of the pearl shape) I don’t know really know how to explain it in words but you just have to try it yourself if this is the first time you are reading about this, HAHAHA.
 photo ricola flat color.jpg

Anyway, I have 5 things to share about Ricola which I thought were pretty interesting and you probably won’t know! We pretty much know about their wide ranges of flavours which are displayed prominently at the sweets section of every minimart and supermarket in Singapore. What else do you know about Ricola?
 photo border.jpg

#1: Ricola Original herb drops are made up of 13 different herbs
 photo herb.jpg
Numerous positive properties are attributes to the 13 herbs. They are Horehound, Burnet, Speedwell, Marshmallow, Lady’s Mantle, Elder, Mallow, Peppermint, Sage, Yarrow, Cowslip, Plantain and Thyme. Probably 80% of these herbs sound unfamiliar to you but most of these herbs help in soothing and relieving coughs. Did you know that marshmallow is especially soothing for soothing irritable cough??? Now you have an excuse to tell your mum! But please don't quote me, HAHA.
 photo border.jpg

#2: ”Riiiiicolaaaa” It all began in 1993

Who can ever forget the internationally renowned “Riiiicolaaa” tune that we heard from their advertisement? It all began in 1993 when a TV ad featuring two farmers calling ‘Ricola’ to one another. After which the ‘Ricola call’ became an instant hit and since 1993, no Ricola TV ad has been released without the ‘Ricola call’.
 photo border.jpg

#3: Ricola uses no artificial colorings or flavourings
 photo switzerland.jpg
Did you know that Ricola’s herb fields are located in the Swiss mountains? Ricola uses both modern technology and traditional methods of manual cultivation of their herbs. The cultivated herbs, once passed quality inspection, are carefully dried, cleaned, chopped and blended using their secret recipe and finally heated and mixed with other ingredients. After cooling, the mixture is shaped to form the herb drops. Ricola pays particular attention to the quality and natural condition of other ingredients and uses no artificial colorings or flavorings.
 photo border.jpg

#4: Famous self-confessed Ricola fans
 photo celebrities.jpg
Ricola products are famous worldwide for their soothing effect on the mouth and throat and for aspiring singers. Did you know the secret that sucking Ricola herb oils drops 'oils' the vocal chords? Maybe from now onwards, you might want to have some Ricola candies around you before any vocal performances.
 photo border.jpg

#5: It's Ricola Original`s 75th Anniversary!
 photo Goldnugget_Hand_Label.jpg
See that Ricola Original herb made of real gold in the image above? Well, in view of Ricola Original's 75th Anniversary, you stand to win it in a one-time sweepstake! Basically you have 75 seconds to answer as many questions as possible and for each correct answer, you get one entry in the sweepstake! More info on the sweepstake here.

Well, how many out of the 5 things i mentioned above did you know about Ricola beforehand? I've already joined the sweepstake (since i now know so much about Ricola, MUAHAHA) and who knows, i might just be that lucky winner! *cross fingers*. Do let me know which is your favourite Ricola product and which flavor you love most by commenting on my Instagram post! Last but not least, Happy 75th Birthday Ricola Original! :D

I partnered with the brand to write this article but every word is mine.

 
Riiiicolaaaa,                                  

Monday, February 22, 2016

Instagram #Flatlay 101

I've always been a fan of Flatlays and i tend to like almost every other #Flatlay photos that i see on my instagram explore page. Sometimes i get so amazed by how much time and effort is being put in into each photo and there are some ig accounts that are purely dedicated (or 90% of their posts) to flatlays like @elpuswr, @Walids, @Designbyaikonik just to mention a few ig accounts that i follow and i never fail to like each and every of their photos.

Anyway if you still have no idea what #Flatlay is about, it's all about laying out your stuff and taking a photos from directly above, basically giving an overview of everything that is laid out. You can go search "#Flatlay" on instagram and you can see a gazillions of examples. Flatlays are amazing but not a lot of people understand the whole process behind each photo which is what i aim to give you an guys an idea of the entire process on how we get the end #flatlay image :)

If you have following me on my instagram (@andystorm) you will realised that my color scheme or theme is pretty much monochrome nowadays. I've always enjoyed doing #Flatlay but i kind of "unable" to do it because it must sort of be monochrome and also because i'm kinda lazy to do it, HAHAHA Anyway, i thought since pretty much all my Adidas shoes are in black and white, why not do a #Flatlay with the shoes and show you guys how it's being done!

Disclaimer: This is not a sponsored post by Adidas. But Adidas PR, if you ever see this post, i just wanna say i love your shoes! LOLOLOL

 photo IMG_4567.jpg
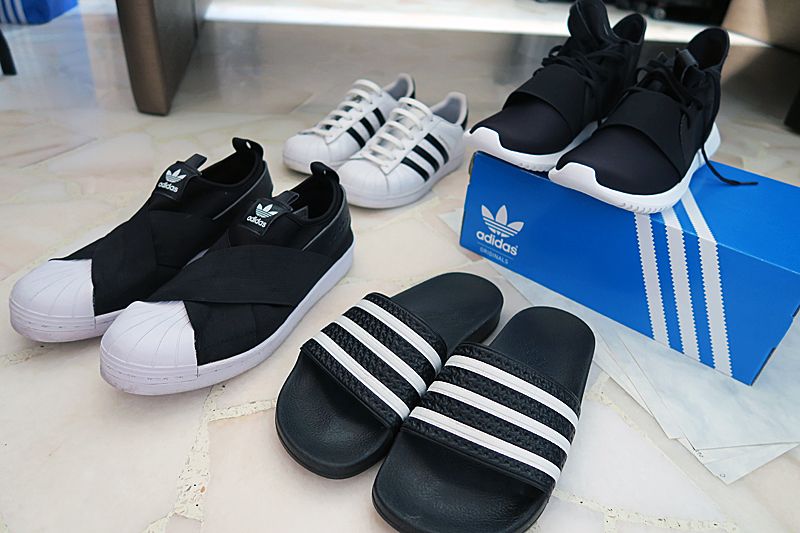
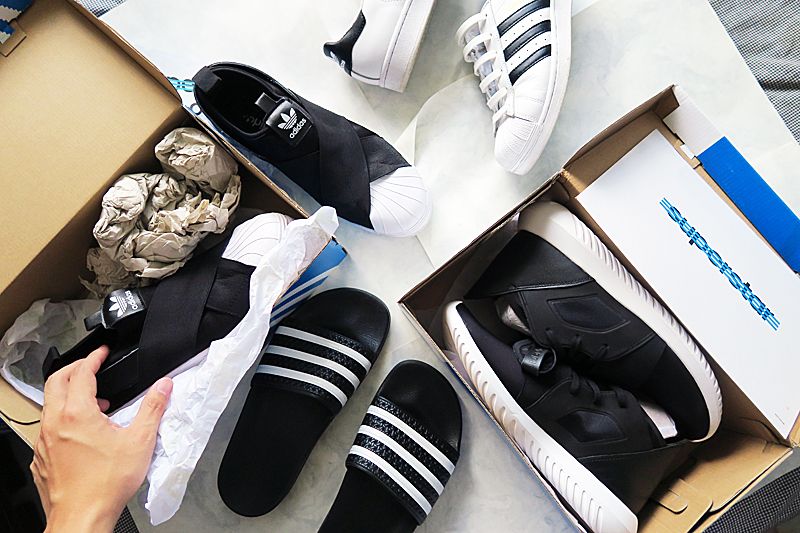
Step 1: Gather the things you need for the #Flatlay. So in my case, i chose 4 of my shoes which are black and white since i already know the color theme i want, and i also prepared some marble inspired paper which i bought from Art Friend ($0.90/ A4 piece) as the background. You can also use Mahjong paper or just spread normal white A4 paper on the ground. Bonus if your floor or table is already white or the color you want (then you can pretty much skip step 2!)
 photo IMG_4568.jpg
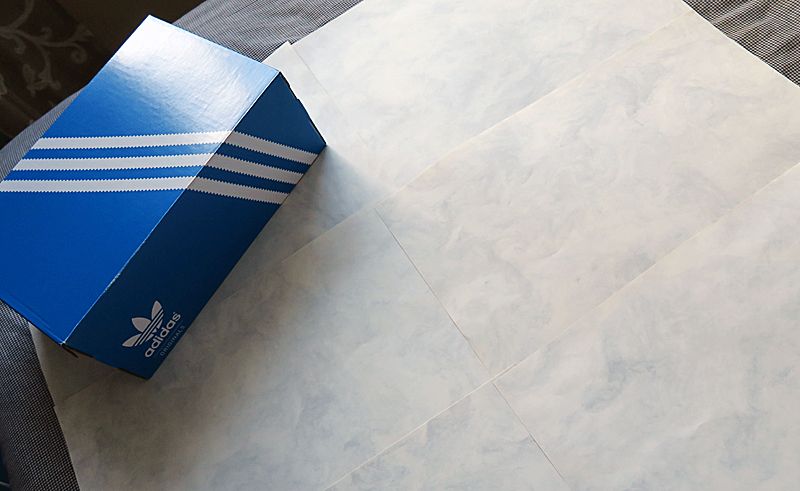
Step 2: Lay out your background. In my case, the A4 marble-inspired paper.
 photo IMG_4571.jpg
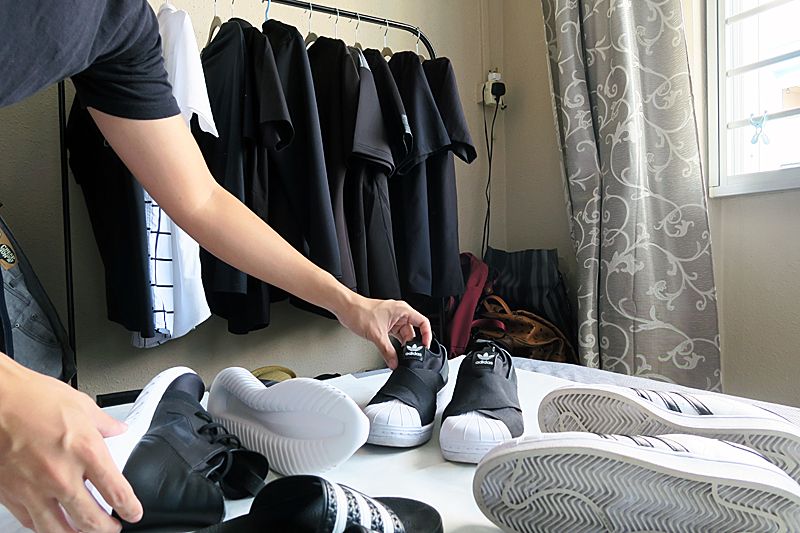
Step 3: Artistically arrange your items. Trial and error until you feel that it doesn't look messy and all over the place. Tip: Do allow some space between each item so the overall image will look aesthetically pleasing. Keep adjusting.
 photo IMG_4572.jpg
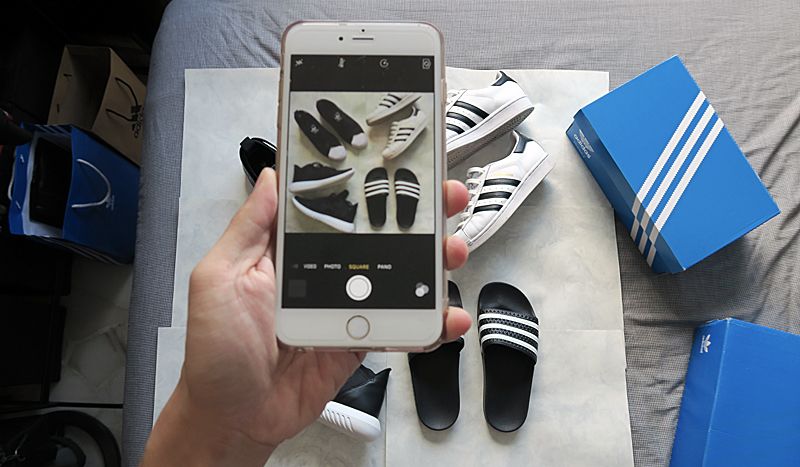
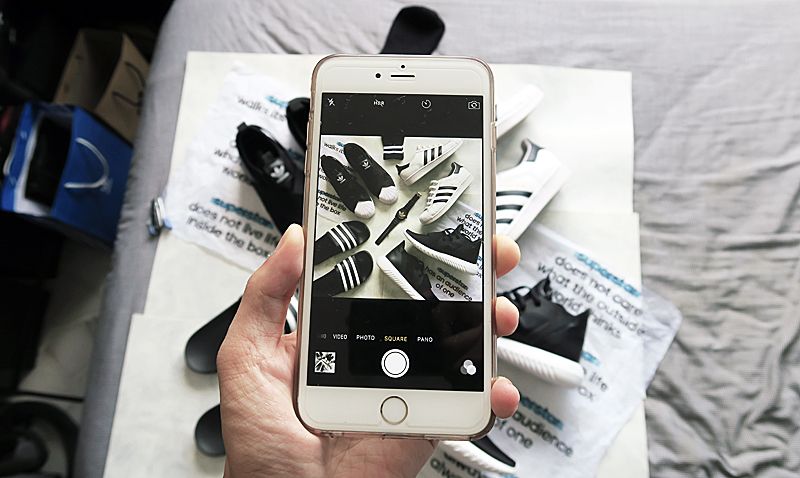
Step 4: As most #Flatlay are mostly square, you can use your iPhone's square camera to see if your arrangement looks pleasing. This is the part where you have to keep adjusting your items to make sure that it fills up the square but at the same time, with enough spaces between them. I felt that my image is a little boring with just the shoes so i went to dig out more accessories to fill up the bigger gabs. Tip: Try to find "relatable" items of the same color scheme,definitely not something bright and bold that might steal the limelight from your main items.
 photo IMG_4590.jpg
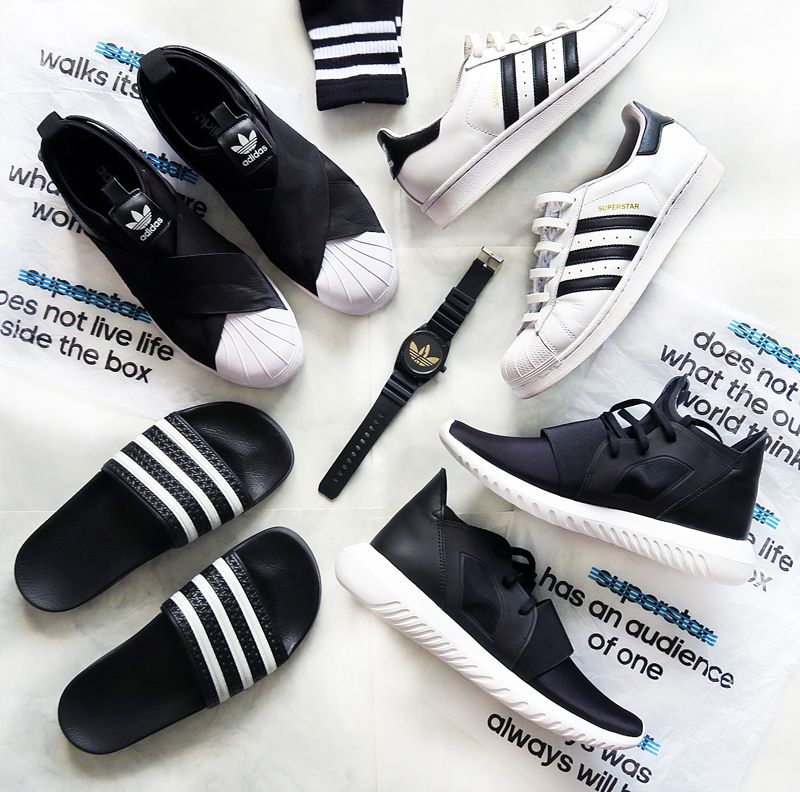
Step 5: Once again, keep checking if the overall arrangement, adjust if need be. For my "accessories", i managed to find my old Adidas watch which is black and gold, a pair of black socks with white stripes and i used the stray paper which came along in my Adidas shoe box. Don't you think with these add-ons, the entire photo looks so much better???
 photo IMG_4595.jpg
Step 6: The most tedious part. Once you feel that you already got the perfect shot. It's time to put everything back to their original place. Imagine you have items from all over the house, that's when you have to spend some time...
 photo selection.jpg
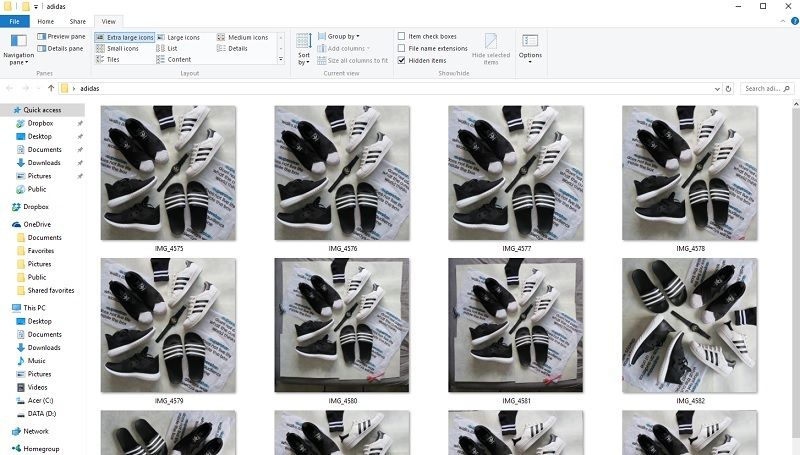
Step 7: Most #Flatlays requires post editing on the computer, simply because one does not spend so much effort in taking the shot but not beautify it. LOL You can expect to see duplicates of your images,in different arrangements, different lighting etc from the collection. Scrutinize one by one and pick out the one that you think is the best of all.
 photo IMG_4588.jpg
Step 8: Photoshop. The above is the image i have chosen out all of the photos i took previously. There are some obvious flaws in the image which needs to be rectify. For example, the joint-lines cause by the overlapping of my marble paper. I also thought i can blend in the "stray paper" with my background. Edit the lighting of the image, Tip: Use "Dodge" tool to lighten, and "Burn" tool to darken. Smart sharpen the overall image after done editing. You're done!
 photo after.jpg
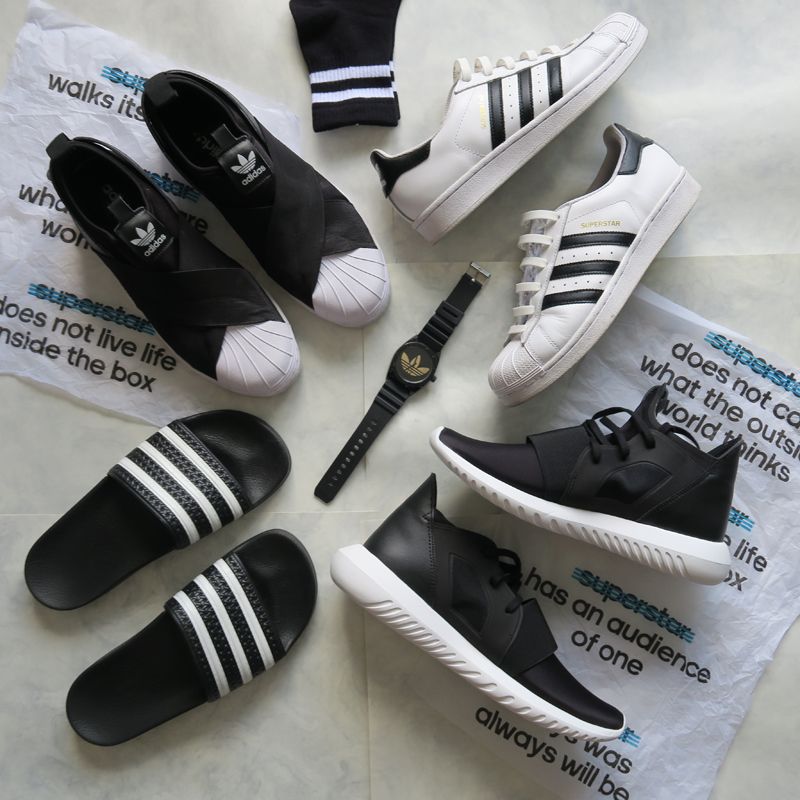
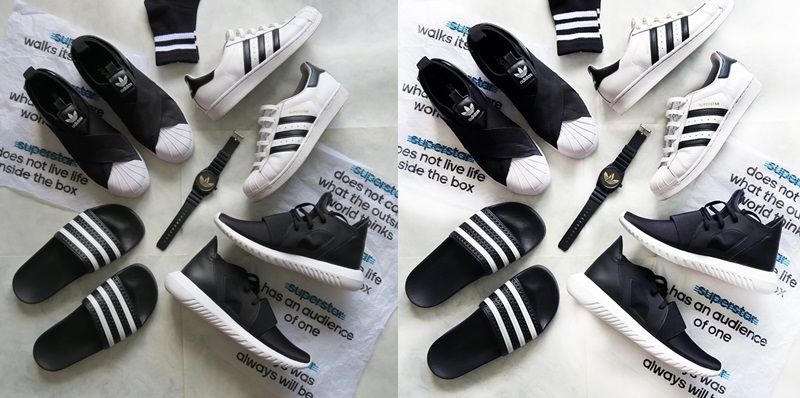
Step 9: Save and Share! The above is the final product of my #Flatlay. I did not mention one thing that i edited which might not be very obvious but it will definitely affect the overall image if i didn't do it. Maybe you might have realized it, HAHA Clue: Stripes. So what do you think of the final image? Is there a big difference before and after?
 photo compare.jpg
Let me put the before and after side by side.

That's all i have for my simple #Flatlay 101 post. Hope you like it and appreciate every flatlay that you see on instagram! Likes are free anyway so i guess it doesn't hurt to double tap on every flatlay you see! (unless it's really poorly done that maybe not, lol) Follow me on my instagram @andystorm for my monochrome shots and @_akwh for more personal photos! Till the next post, i will try to update my blog more often! :)


   Happy New Year,